|
 |
|
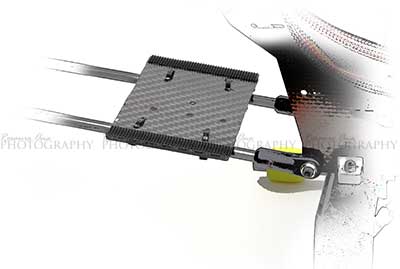
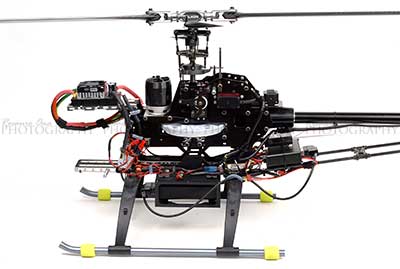
A piece of
carbon fiber was cut to the size of the adapter. Mounted
it on the struts of the tailboom using double-sided tape
to prevent movement and backed it up with tie-wraps.
Added Velcro on top to secure the adapter. |
|
| |
|
|
 |
|
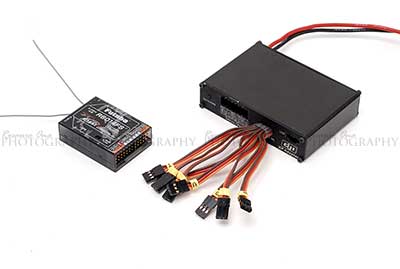
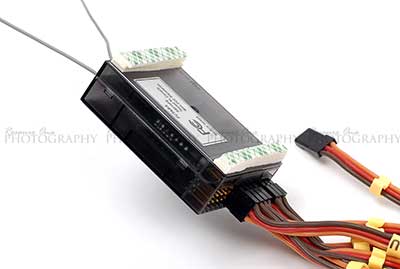
Examine the leads
from the adapter and figure out where each will plug
into the receiver. |
|
| |
|
|
 |
|
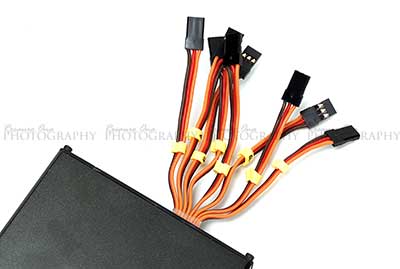
Move the lead
identifiers down. This is necessary to have
enough space in between plugs after plugging them into
the receiver. |
|
| |
|
|
 |
|
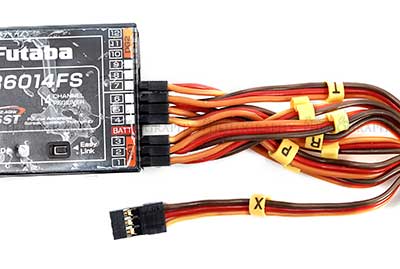
Plug the leads from
the adapter into the receiver following the lead
identifiers.
Since this the
Trex600 is
a 3 servo swash the "X" lead is not used. |
|
| |
|
|
 |
|
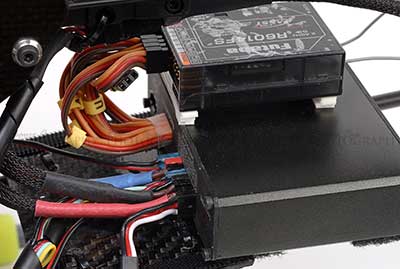
Layered some
double-sided tape to create "height". This is to
prevent the receiver from over heating. |
|
| |
|
 |
|
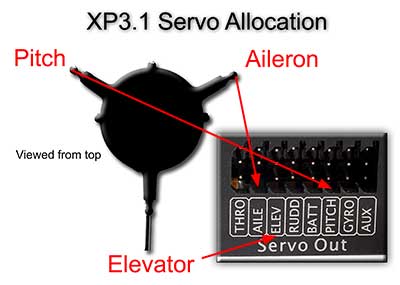
Here's a quick
reference note.
The servo allocation
is shown during the software configuration. |
|
| |
|
|
 |
|
Plug in the servos,
gyro, throttle and power lead into the adapter. |
|
| |
|
|
 |
|
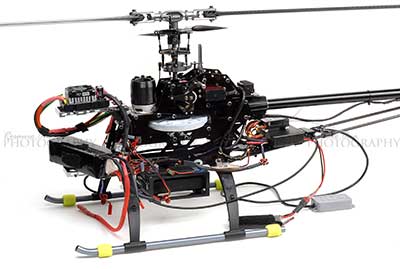
At this point every
component was
temporarily hooked up to test for correct
swash movement.
Two
batteries are required. One 7.4 for the adapter's main power
and one 4.8 for the BATT port on the adapter. |
|
| |
|
This step is going a
bit ahead. Select "NORMAL" swash
on your transmitter. For example "H1" on Futaba.
Also for Futaba
radios it may be necessary to reverse the throttle. All
other channels just leave to normal.
Install the software in order to select the swash
setting for your heli. Reverse the servos
on the software
See
Software installation page. |
|
| |
|
|
 |
|
Once the servos are
moving correctly then tie everything down. |
|
| |
|
|
 |
|
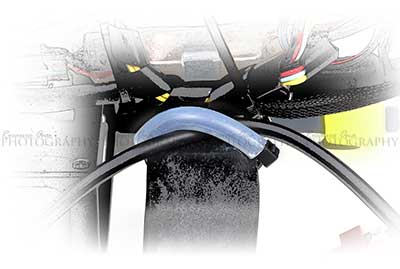
Remember to protect
the wires. |
|
| |
|
|
 |
|
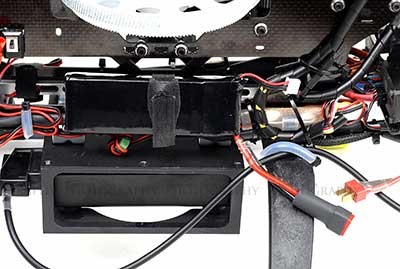
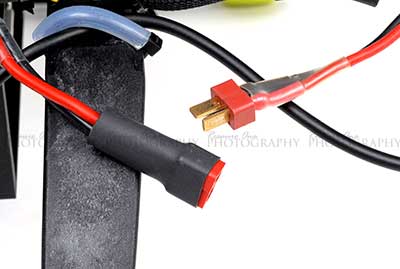
Mounted the Lipo
battery on the side and installed a female Dean
connector.
This is a 2s 2000mAh
Lipo. This is the main power source for the
adapter.
At this point
"lock" the DB15 latches. |
|
| |
|
|
 |
|
| |
|
| |
|