|
Conclusion
I'll be real honest....
This is
not
for the hobbyist. Think twice before building one of these.
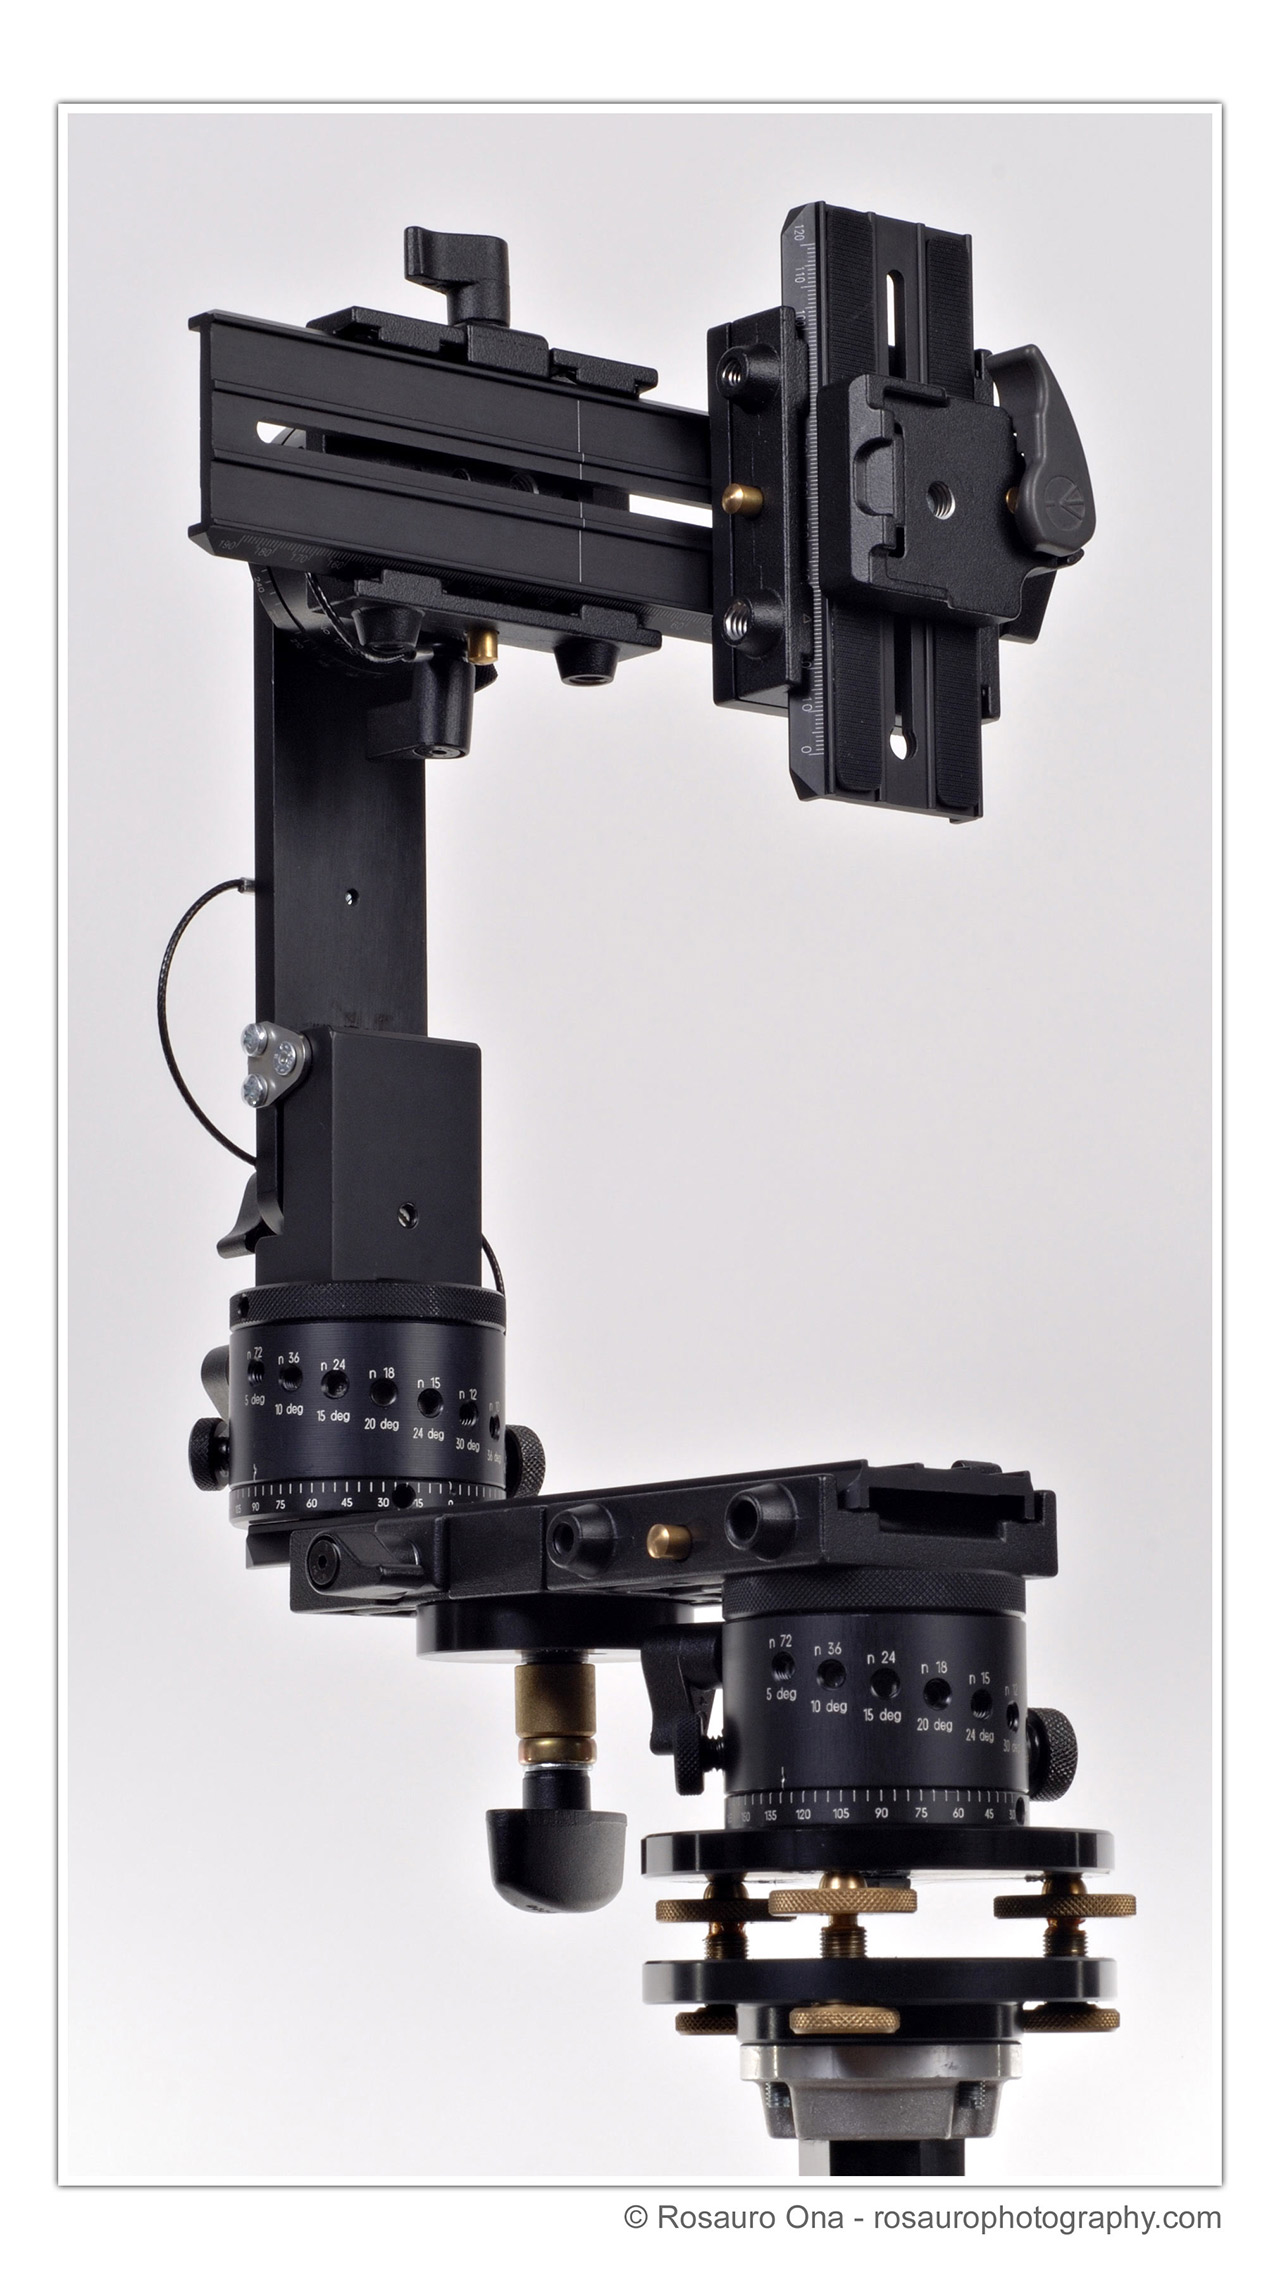
It's huge, heavy and expensive. The only reason for building
one of these is the ability to shoot the nadir at long exposures
which less expensive VR heads are capable of doing. See
the NN3 review on long
exposure shooting of the nadir.
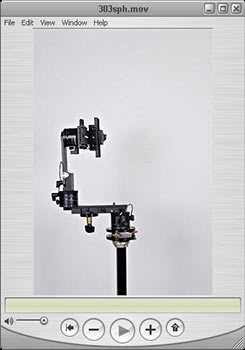
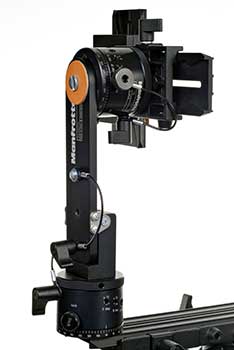
I surely felt the 4kg weight when I had to carry the entire
assembly on my shoulders - camera, VR head and Manfrotto's Triman
tripod. You need a tripod that can handle this
modified 303SPH. When you shoot the nadir, without the tripod
in view, the tripod will tip over. You have to hold the other
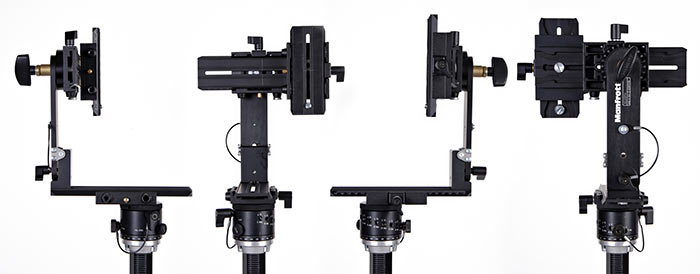
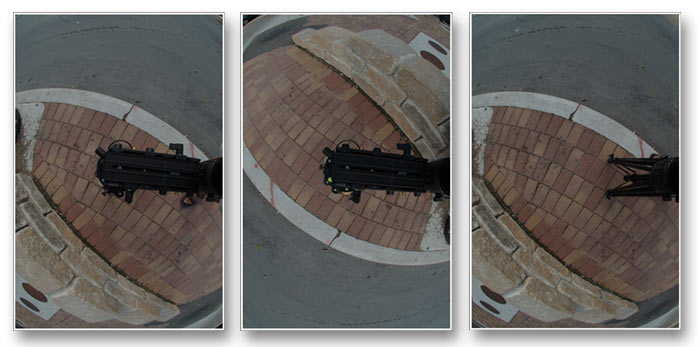
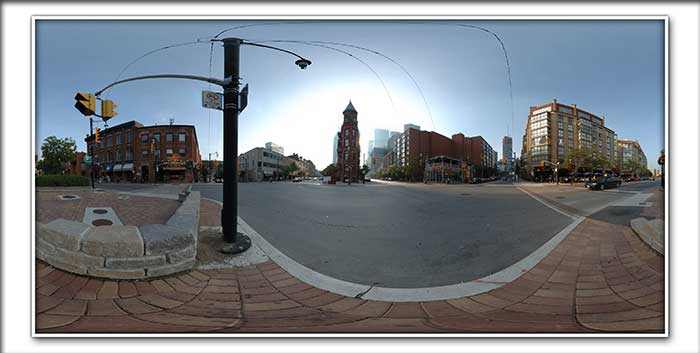
side of the tripod to prevent this. I know the image above
(Shoot sequence) with the full length shot of the tripod and nadir
shot shows the tripod standing on its own. Don't believe what
you see. There is a fishing line supporting that.
Obviously I can't hold it and shoot the image at the same time.
Cost is a major factor.
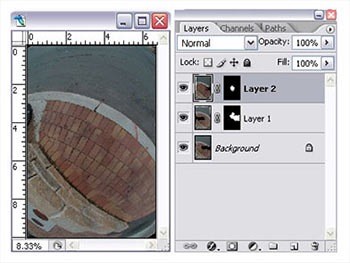
Just look up the cost to modify. The extra parts alone cost
more than the head itself. You do not have to spend this much to get the same
result. You just have to rely on your Photoshop skills.
Don't think spending more will give you better results. Don't
think less expensive VR heads are less precise or less capable. Sure precision
starts off with the engineers and manufacturers. But I'm sure
they'll do their job. You have the last engineering role to
play and that's calibrating the entrance pupil. Sure there are VR
heads out there that is already calibrated for you but you're also
paying for that calibration. This is where all the fun is.
Take the time to calibrate your VR head and enjoy! There are
lots of resources in the web that can help you calibrate the
entrance pupil.
Another point I have to mention
was ordering this VR head. This is made in Italy (Manfrotto).
I ordered this VR head before the World Cup. Oooops...
Let's just say nobody was working on that side of the world at that
time. (joke)... It took about four months for this to
arrive. I'm not saying that the World Cup had anything to
do with the delay. I'm just saying it took awhile. ; )
On the other hand, this
mech-warrior does it all. It's a machine. Despite
what I just said above I don't mind any of it. I love
panoramas and everything that goes with it. I love full
360°x180° spherical panoramas. I'd rather have a cylindrical
panorama over a full spherical panorama where the nadir has been
covered with a "mirror-ball" nadir cap. Of course this is all
personal preference.
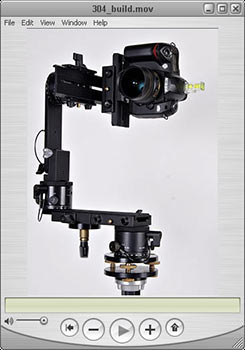
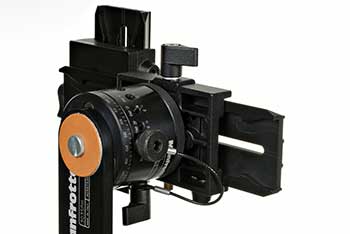
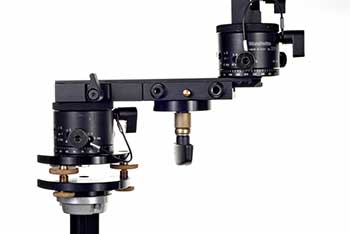
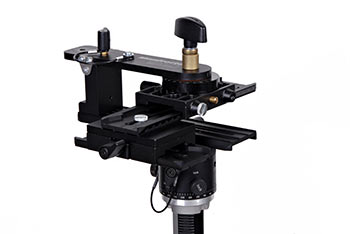
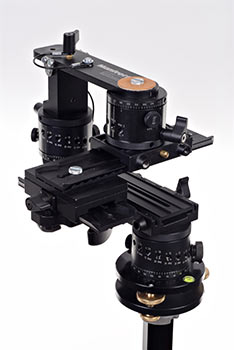
This will handle any camera size.
Even medium format. That's the beauty of a "do-it-yourself" VR
head. There are no limitations. The capabilities of this
modification is not only for VR photography. Use your
imagination and see what the components can be used for.
Since this is a "do-it-yourself"
VR head, it is difficult to give this a single mark.
Technically there is no right or wrong when you build your own.
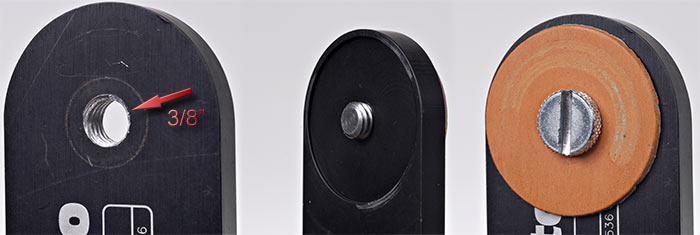
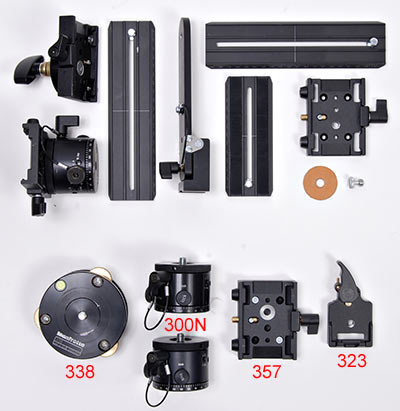
The components are a definite 10.
The quality and workmanship of each individual components is
indisputable.
Precision and performance when
assembled is 10. The very first panorama I shot with this had
no parallax errors. I couldn't believe it. I got lucky.
Precision of the nodal point really
all depends on the user's calibration.
I would give size, weight and cost a 6
out of 10.
Customer service on the VR head
alone, 303SPH, really depends
on the distributor and not the manufacturer. I'm not sure what
the cause of the delay was. I never heard the full story from
the distributor. I'm sure a huge company like
Manfrotto will have a good customer service. I never had to
deal with them yet. The store I purchased this
VR head from is very good. They even offered to refund my
money even after they've already ordered the VR head.
Go to a pro shop if you do decide to build one of these.
Packaging of the 303SPH and other
components were excellent. A
typical Manfrotto packaging. Had molded Styrofoam
securing the VR head and sealed in a bag. Box was
manufacturer sealed and unopened by customs.
Personally though I love building
things regardless of cost, weight or size. If you're a VR photographer
looking into shooting lots of panoramas and carrying equipment
around locally or while traveling then this is not the VR head to
bring along. Remember this review is not directed at the
303SPH. This is a do-it-yourself VR head. Eric Rougier
dubbed it the 304; a non existent VR head. If you're a hobbyist looking into
learning and possibly doing the occasional spherical panorama then
forget about this VR head modification.
If you're a serious VR photographer and have enough curiosity in
building one of these then go ahead. I found building one of
these educational, fun and interesting. It gave me a better
understanding of VR photography.
Average
Back to
top |

 A
A