The following is based on a
Microsoft Windows operating system with
Photoshop
CS3.
Some of the tools and/or techniques mentioned here may not be
possible with older versions of Photoshop.
Also it is assumed that your VR
stitcher software has the option for a Photoshop (PSD) layered file output
Photoshop CS3 is a "must have"
tool for VR photographers --
No IFs, ANDs or BUTs. Adobe answered our prayers with the new
automatic layer alignment and blending tools. Sweet!
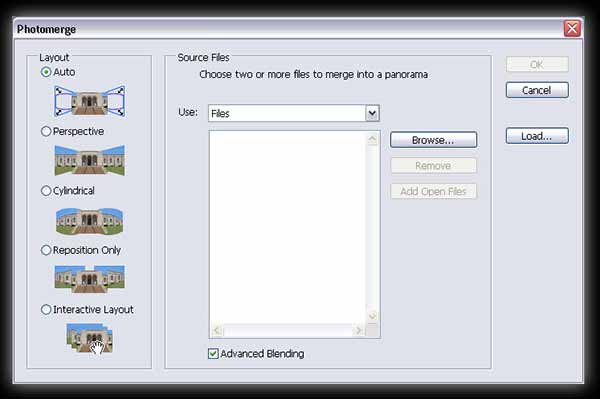
Also, Photomerge has been expanded to create various panorama
projections.

Most of the time
Photoshop
is only used to edit the nadir (downward shot) and sometimes both
nadir and zenith (upward shot). I've come across where I've
had to edit all the sides - six pans, zenith and nadir.
Basically the same process can be applied to all sides of a cubical/rectilinear
image.
As
you know there are many tools available in Photoshop. As a
VR Photographer there are a number of tools that we must utilize to
finalize our images. This is a basic introductory to
Photoshop for people with little or no experience so I will only
discuss tools and techniques that are necessary for VR work and will
discuss them in minimal detail.
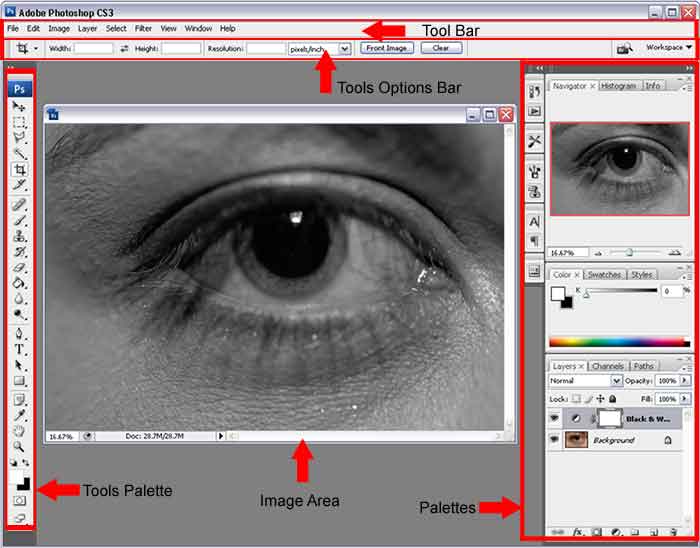
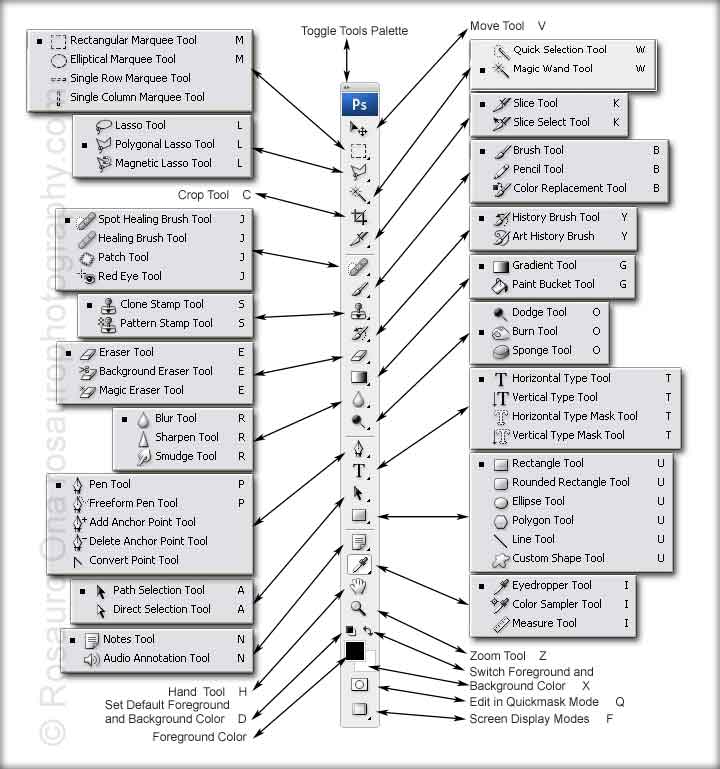
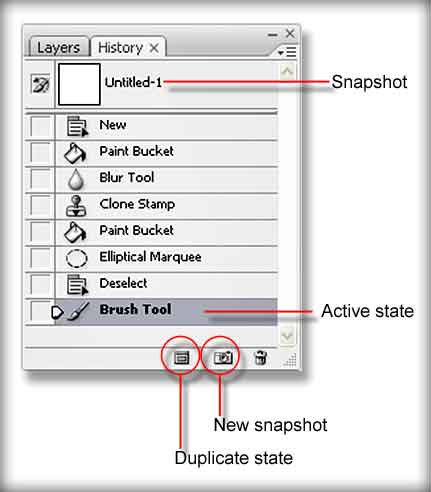
On the Tools palette alone there
are over 50 tools to choose from. An additional "Quick
Selection Tool" was added to the already vast assortment of
tools. We don't need to know them all.
I will only be mentioning tools that you need to know for now. Most of these tools you can
simply learn by playing with them. Don't be intimidated. As long as you don't save the image you're playing with.
Better yet make a backup. There are numerous web sites that
goes into details with each of these tools. Try
searching for them by their name.
For most of these tutorials it's
basically the same as Photoshop CS2. So nothing to worry
about. Most of the shortcuts remained the same. It's
just a matter of getting used to the new interface.
If you really want to learn
Photoshop then I recommend that you seek professional tutelage.
Enroll in a course at your local college or schools that specializes
in
multi-media. As well, buy a book for reference. There are tons out
there. I personally learn on my own.
Softwares used in these tutorials
are Photoshop CS3, PTGUI, Pano2QTVR, Nikon Capture and PTViewer.
|